As a rule, your military uniform must always be on point. If you need to sew a patch on it, you need to not just put it in the appropriate place but create a sharp, professional appearance that meets military standards. What follows is all you need to know about how to sew patches on military uniforms.
What You Need
Here are all the items you’ll need to complete the project.
- Patch
- Thread
- Preferably a color that matches the patch. If no matching color is available, go with a darker color that’s close. Darker will blend better than lighter thread. There is also the option for a clear thread.
- Needle
- Pins
- Thimble (optional)
- Measuring tape
- Marker
- You can use a variety of items to mark. There are pens, chalk, markers, or, for the experienced sewer, tracing wheels.
- Iron
- Threader (optional)
- A flat workspace
How to Sew Your Patch
To begin sewing your patch onto your military uniform, follow these simple steps. For further guidance, you can refer to this video.
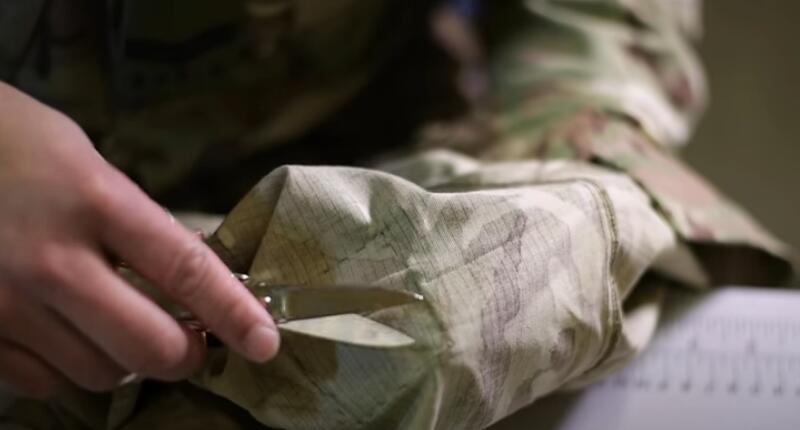
1. Prepare the Sleeve
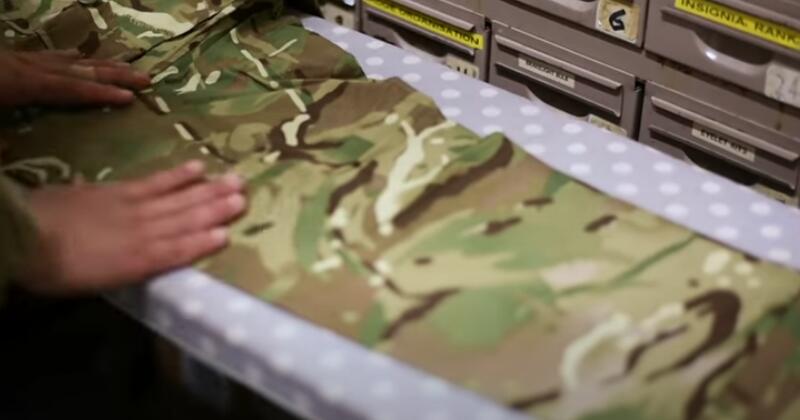
Fold the sleeve longways. Place your sleeve across the work area and smooth it out as best you can. Run an iron along the sleeve. Be mindful of wrinkles because any wrinkles underneath the finished patch will never come out. Create a nice sharp crease. Now, you have a solid starting point for placing the patch correctly.
2. Measure to Position Your Patch
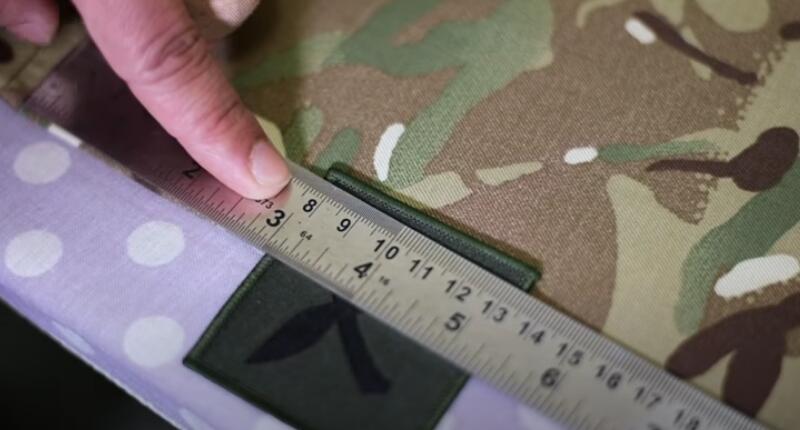
With your measuring tape, find the distance on the sleeve for your patch. With most military gear, there are guidelines for exactly where a patch has to go. Check with superiors, colleagues, or find the regs for exact positioning. Measure from the shoulder to where the patch should go, and mark the position.
3. Place the Patch
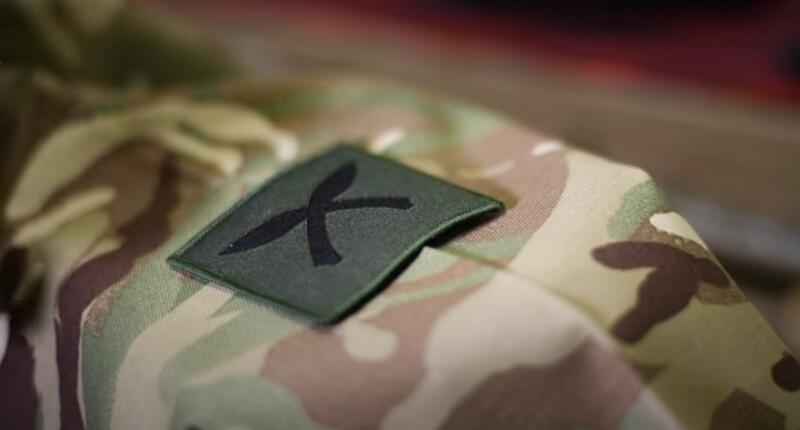
Now that you have the position, carefully open the sleeve and place the patch. You want it to sit centered on the crease.
4. Pin the Patch in Place
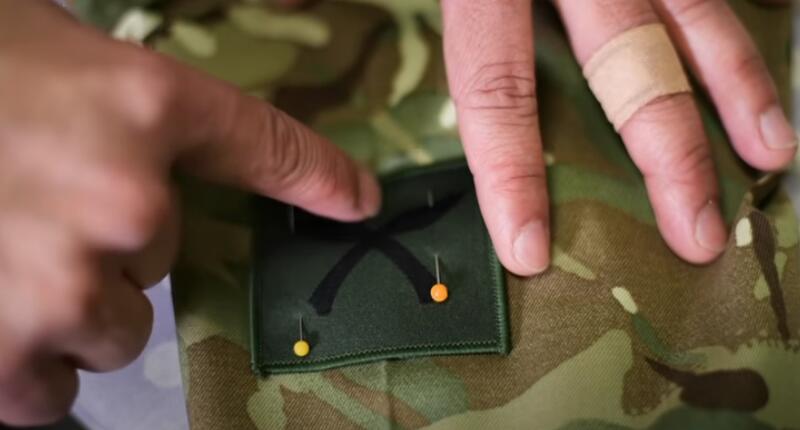
Use your pins to keep the patch in place. Push the pins in and have them come out the patch and shirt on the same side. Avoid putting the pins where they might hinder seamless sewing. Avoid moving the patch, and make sure it stays centered across the crease.
5. Thread the Needle
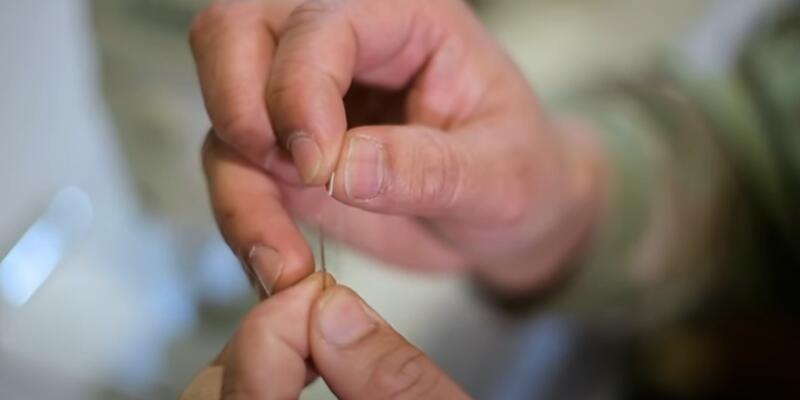
Cut a piece of thread about 18 inches long. Pieces shorter than that can be hard to work with, and anything longer tends to tangle. You can also work with the thread on the spool. It helps minimize tangling altogether. It also prevents running out of thread mid-project.
Thread your needle and knot it. If you’re not using a threading tool, twist and wet the tip of the line with saliva.
Again, make sure your patch is secure and in the correct position.
If you feel it’s necessary, use the thimble as you do the following steps. It’s an excellent solution for protecting your finger, but there are as many people willing to use a thimble as there are who prefer not to.
6. Start Sewing

Begin sewing with a corner. You want to start inside the sleeve so that the knot won’t be visible. Push the needle up into the sleeve and through the patch.
As you proceed, take care to follow the seamline of the patch. Otherwise, you risk the thread being visible.
Make sure the patch doesn’t shift as you work. You can correct its positioning along the way if you’re careful. You may have fraying in the patch corners. This is actually good as it strengthens the stitching.
Be sure to take your time. Check to ensure the stitching is strong and that the patch hasn’t moved.
Completely outline the seam around the patch, double threading all corners. When done, remove the pins.
7. The Last Few Steps
Inspect the patch, making sure it hasn’t moved from its center point or that there are bubbles beneath it. Stretch the sleeve to ensure the patch’s stability, then turn the sleeve inside out.
Now, take your needle and thread, passing them through the original knot in the corner where you started. Make a new knot under the first.
Cut any excess thread. We’d suggest not cutting too close to the knot or risk cutting the knot. It’s best to leave anywhere between a quarter- or half-inch of thread to be safe. If your excess is smaller than a quarter-inch, leave it be.
Finally, you want to marry the patch to the crease. Fold the sleeve again and place it on the work area. Run the iron over the crease and patch, ironing both sides of the patch and sleeve.
Congratulations, you’re finished!
Conclusion
If done correctly, your patch will align with the crease perfectly. These instructions are a simple step-by-step process and really break down how to sew patches on military uniforms.
I hope you enjoyed this tutorial and can put it to good use! Now you’re ready for any inspection.
Feel free to share this post with others who may find the information helpful.

